- Wood Burning Kitchen Conversion Chart Cutting Board – Homemade Cricut Stencil

- Glitter Name Topper – Oscars party
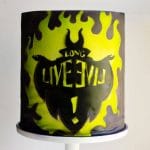
- Disney Descendants Long Live Evil Graffiti cake tutorial
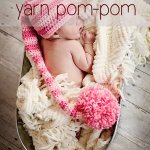
- How to make an extra EXTRA large yarn pom pom


![]()
- Double loop crochet Santa beanie pattern – infant to adult
- How to make an extra EXTRA large yarn pom pom
- Creative Christmas Crochet and Knit Ideas
- sunshine pillow crochet pattern

![]()
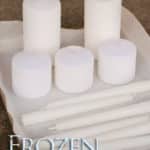
- Frozen Party Supplies – Candles
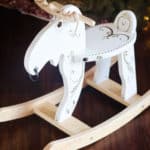
- Christmas Rocking Moose with Sharpies
- Mothers Day gift- Family Tree Canvas
- Teacher appreciation Canvas art
![]()
- Glitter Name Topper – Oscars party
- Frozen birthday party printables
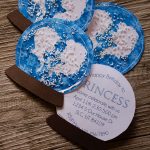
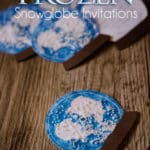
- Snow Globe Frozen Invitations
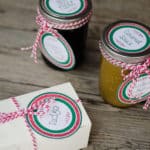
- Neighbor Christmas gifts labels – free printables
![]()
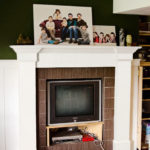
- Build your own Mantel
- How to change out your door knobs
- Double Trellis Wall Stencil
- Living room Board and Batten
![]()