- Chinese Orange Chicken Recipe (Gluten Free)

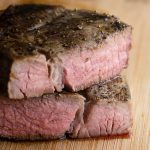
- The Perfect Steak using Sous Vide
- Baked Lemon Salmon Recipe Video
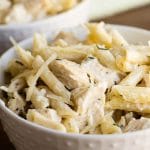
- Creamy Chicken Penne Rustica Pasta Copycat Recipe and video


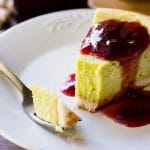
- Pistachio cheesecake with coconut macaroon crust
- Caramel Pecan Cinnamon Rolls recipe
- Butterbeer Ice Cream Recipe
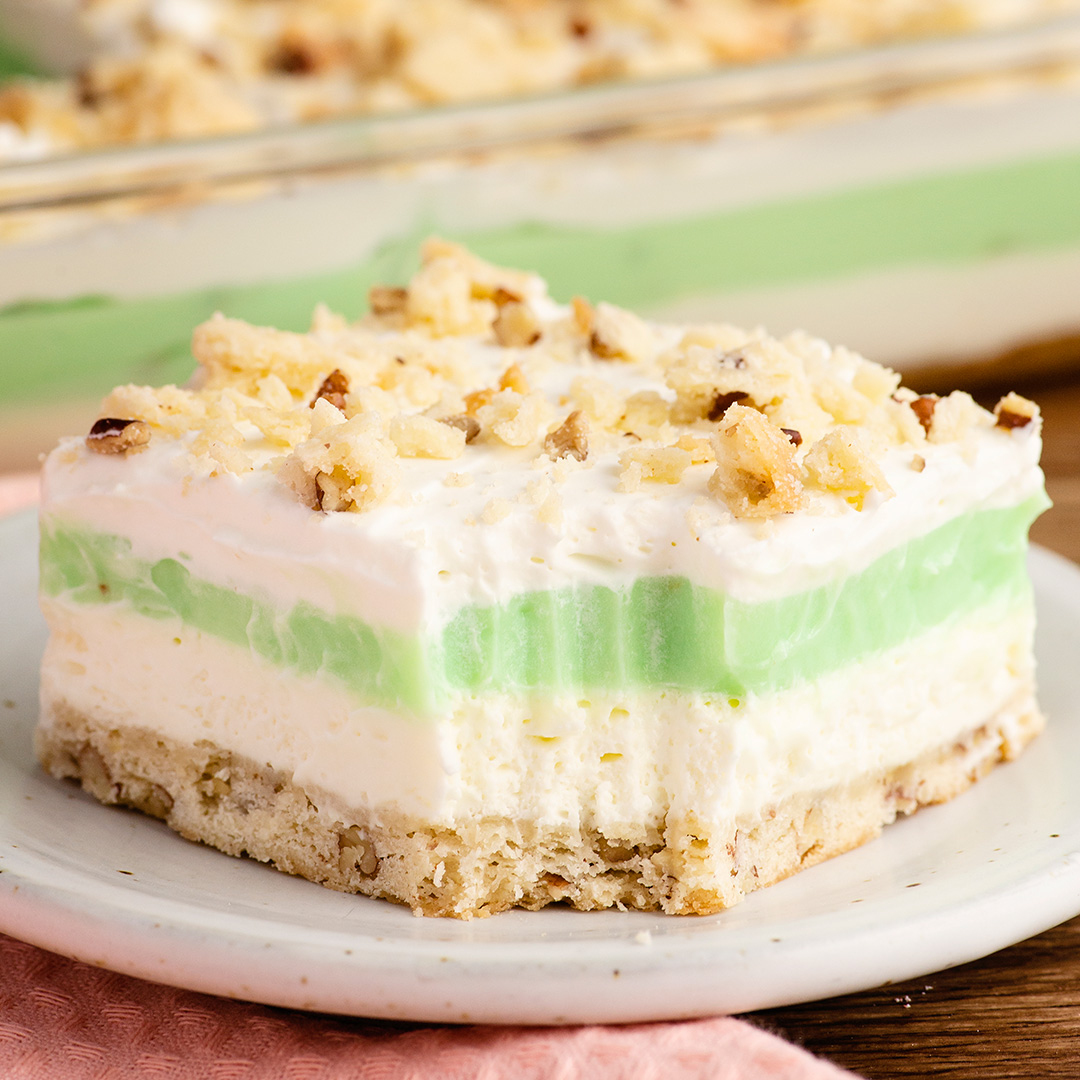
- Pistachio Dessert Lasagna Recipe


- Caramel Pecan Cinnamon Rolls recipe
- Homemade Rainbow Bagel Recipe
- Eggnog French Toast with Eggnog Syrup
- Homemade Raised Donuts with Glaze recipes and video


- Easter Egg Pinata Cake with Chocolate Nest – recipe and video
- Red Velvet Cupcakes
- Graveyard Fault Line Dirt Cake Video Tutorial
- Edible Bloody Broken Glass Red Velvet Cupcakes


![]()
- Homemade Rainbow Bagel Recipe
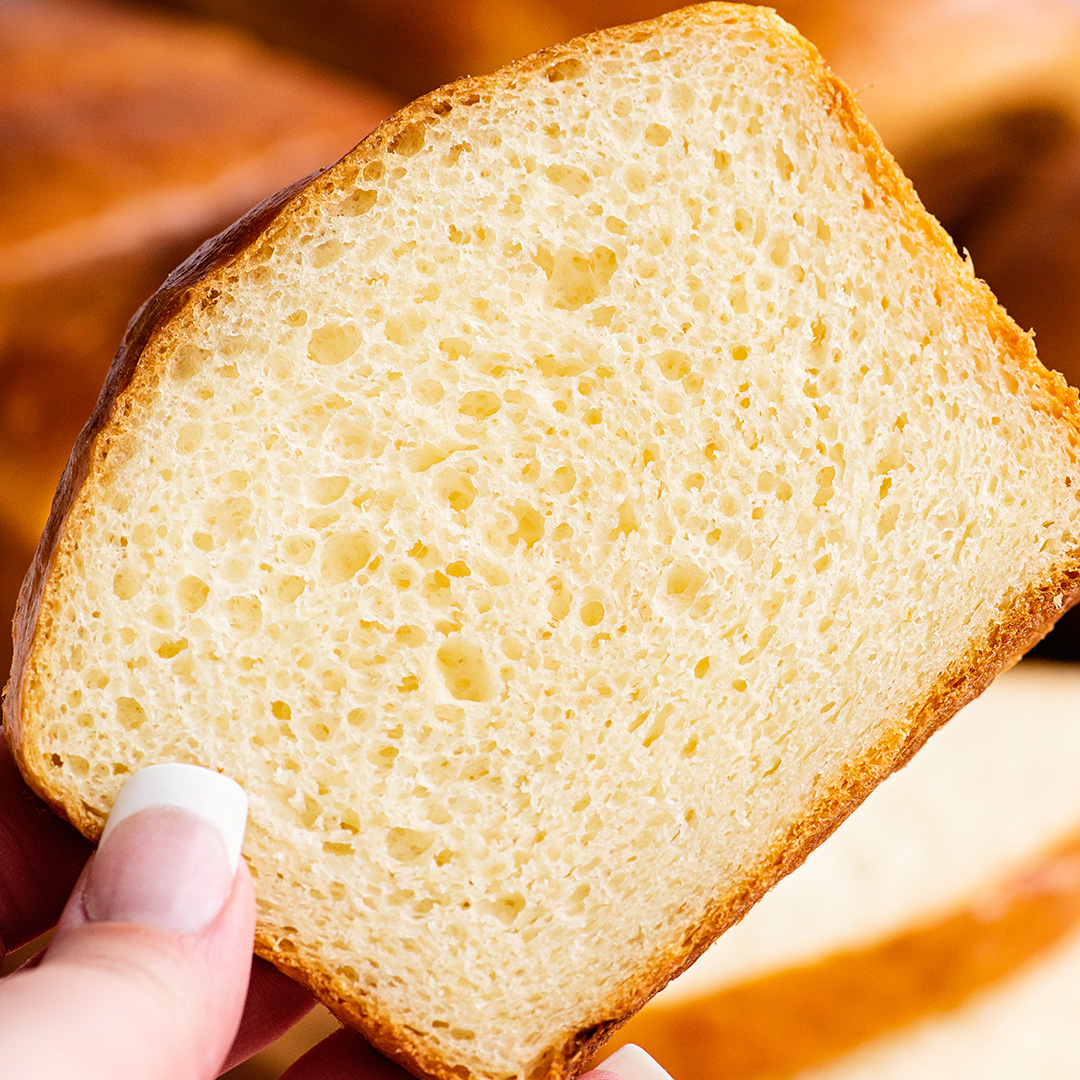
- Homemade White Bread Recipe
- Soft Pretzel recipe – Cinnamon and Sugar sticks
- Homemade Tomato Soup with Grilled Cheese Croutons – recipe video

- Creamy White Chicken Chili Recipe and video
- Homemade Tomato Soup with Grilled Cheese Croutons – recipe video
- Creamy Turkey and Wild Rice Soup
- Creamy Instant Pot Tomato Soup Recipe


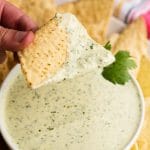
- Creamy Jalapeno dip and dressing
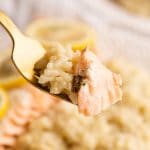
- Instant Pot Parmesan Risotto Recipe
- Homemade Fortune Cookie Recipe – Video Tutorial
- Instant Pot Pinto Beans Recipe and Video


- Hot Pumpkin Pie Drink
- The world’s BEST Hot Chocolate
- Hot Butterbeer recipe and video
- Frozen Hot Chocolate – in an ice cream maker