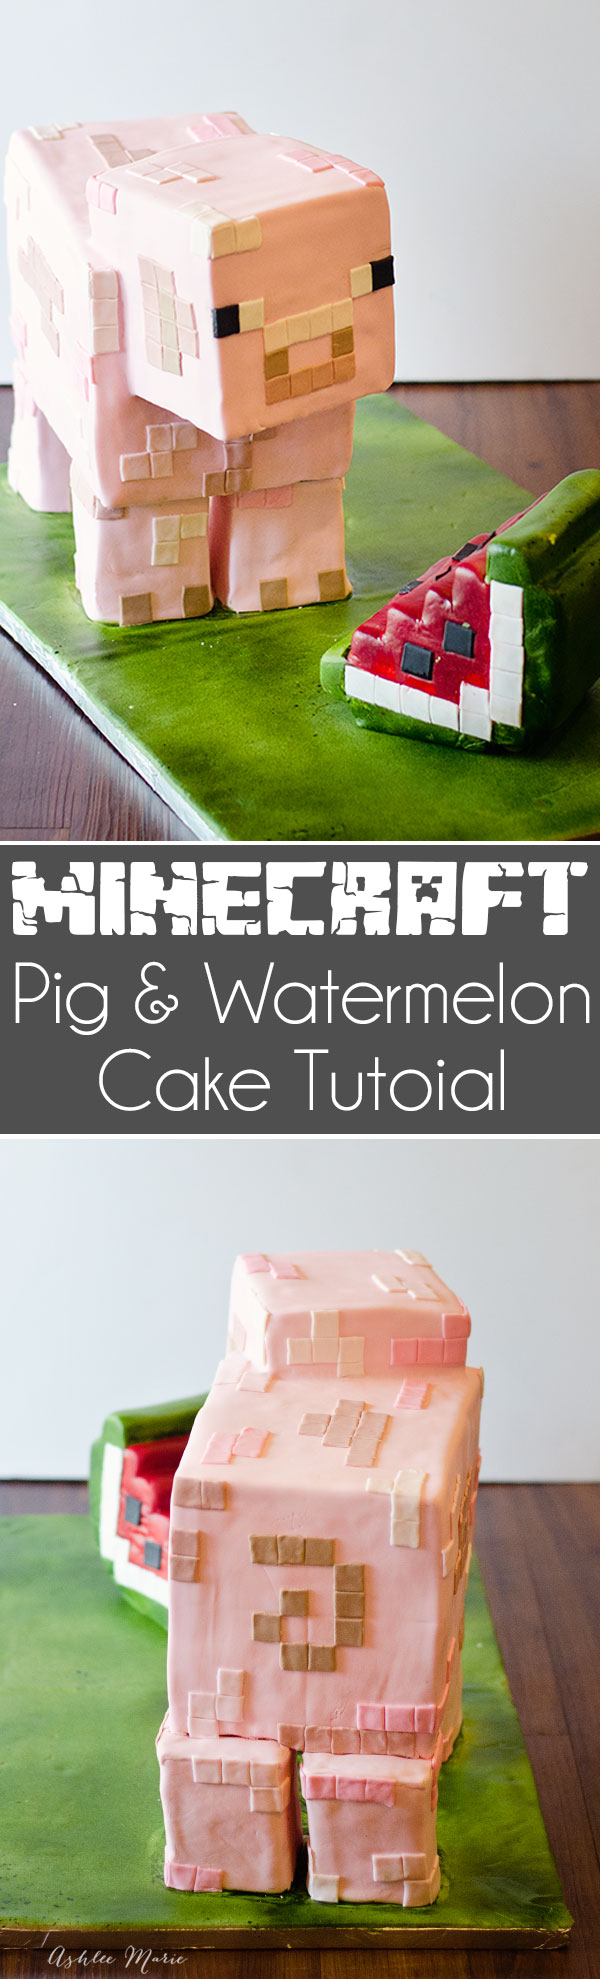
I was planning on taking the summer off from making cakes but I kept getting these AMAZING orders that I couldn’t turn down! I love getting an order that’s unique, challenging and FUN!!! When Jyl from Mom It Forward came to me for a Minecraft cake I was super excited!!!
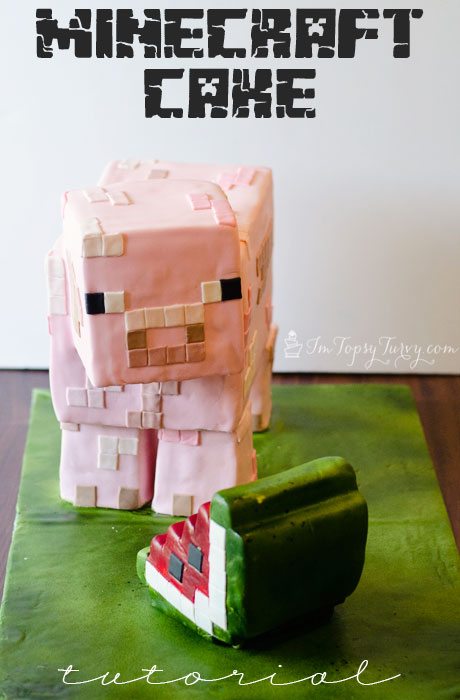
We started by looking at what was already out there (pinterest) and there was a lot of the same cake repeated over and over again and Jyl wanted something never done before! I LOOOOOVE that! So she told me her son’s favorite pieces in minecraft and two of those, the pig and watermelon, became the cake!
I love these themed carved cakes so much. I prob spend as much time PLANNING out a cake as I do actually MAKING the cakes! Getting the dimentions right on these cakes is KEY. you don’t want it to look wonky, too tall, too thin, too squatty, etc.. That’s what can ruin a cake, esp one made out of perfect BLOCKS

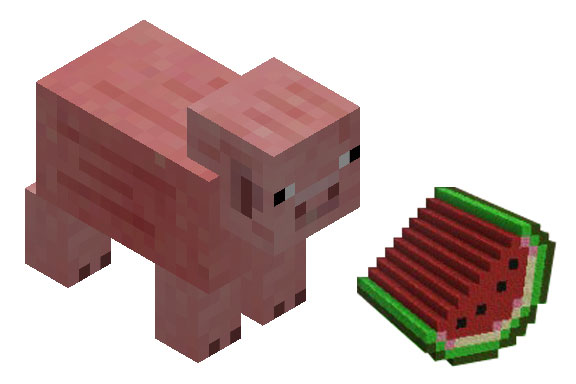
For this one I started by finding some good images online, and putting together this to send Jyl to get the a-okay. Then I decided on dementions, and the measurements for each piece of the cakes (so I can know what to bake and what boards to cut.).
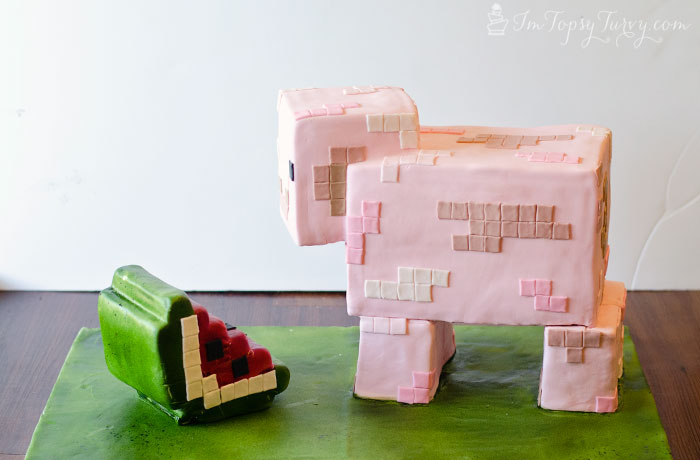
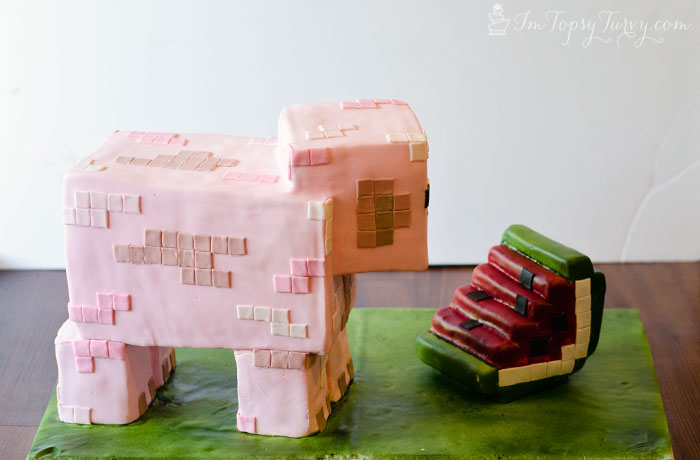
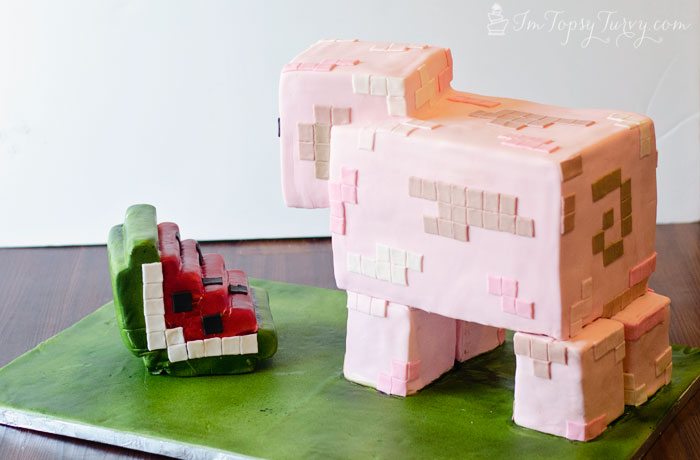
And here is the finished cake! I think they matched up really well!!! The one thing I changed was turning the pigs head, I liked that aspect of it, so it wasn’t too straight on and helped the the illusion of it being a character not cake.
Looking back at this cake there isn’t much I would change. I debated a lot putting blocks of fondant all over the pig or watermelon vs the more occasional blocks I ended up going with. I am still really glad that I choose this. I think it would have been too distracting otherwise.
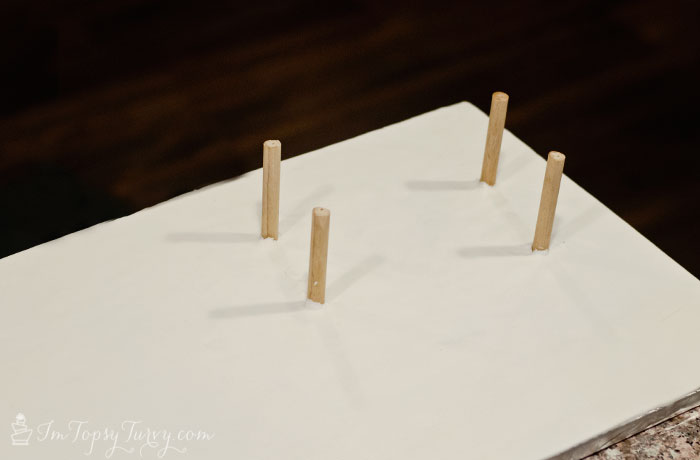
I started by cutting a 3/4 inch thick board, and nailed some dowels into it, then wrapped the boards in foil. Get the damp with either water or corn syrup and cover it with a thin layer of fondant. You can use green, or like me white (I spray painted it later like I did for the texture and color effect it creates)
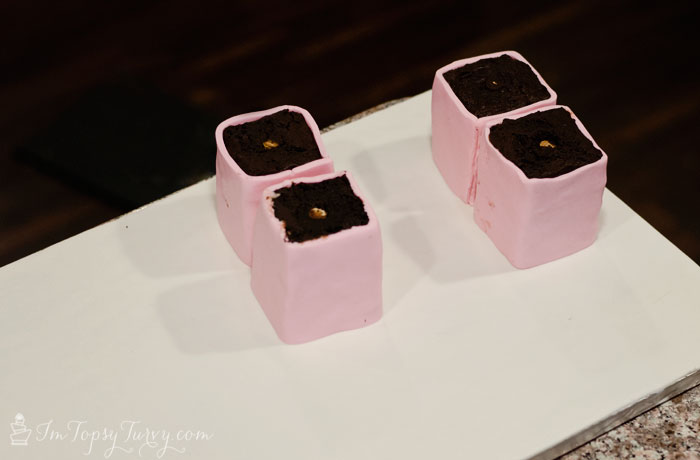
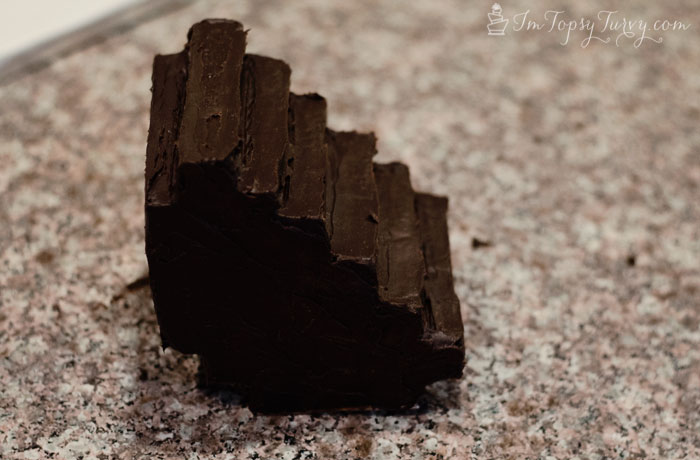
Next add your chocolate block legs, and cover then with fondant! they were so small it would have been hard to cover them like normal so I just wrapped them, keeping the seems inside where they wouldn’t show.
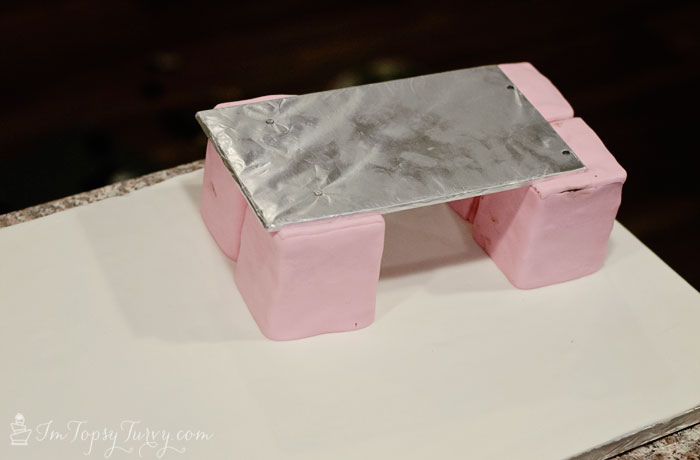
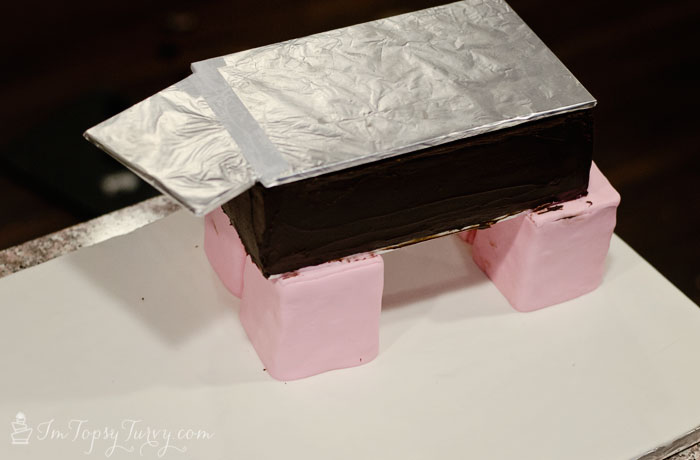
Next nail on a foil wrapped board. notice it’s off set? I did a lot of research into minecraft pigs and this is what they looked like, promise!
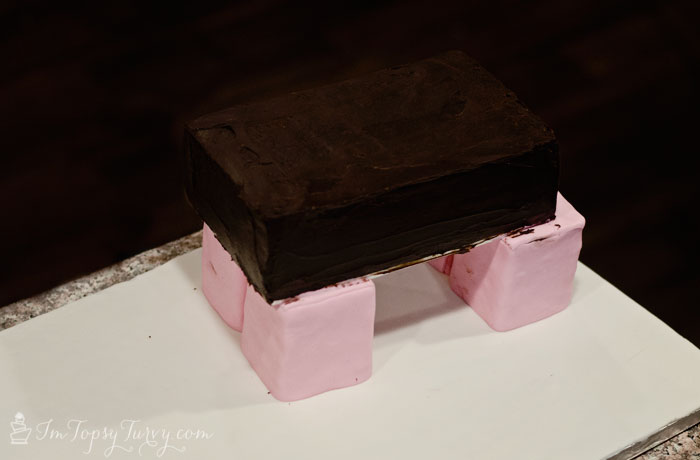
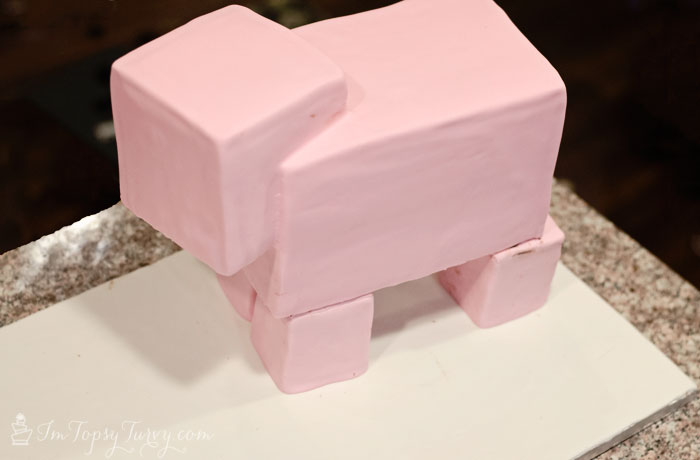
add your first layer of cake to that board, and frost it, I like working with ganache for under fondant, it holds shapes better, including sharp corners!
Notice I add a board to the middle of the body, this one is to support the HEAD, so I cut it out with my Jig Saw to the exact size of the body/head combo. And wrap it in foil (for food safety, vs cut wood.
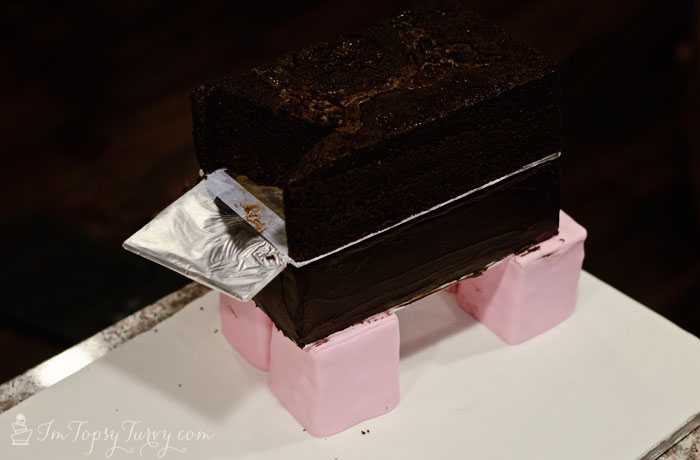
the rest of the body gets placed on top, then I cut out a gap to fit the square head into the body.
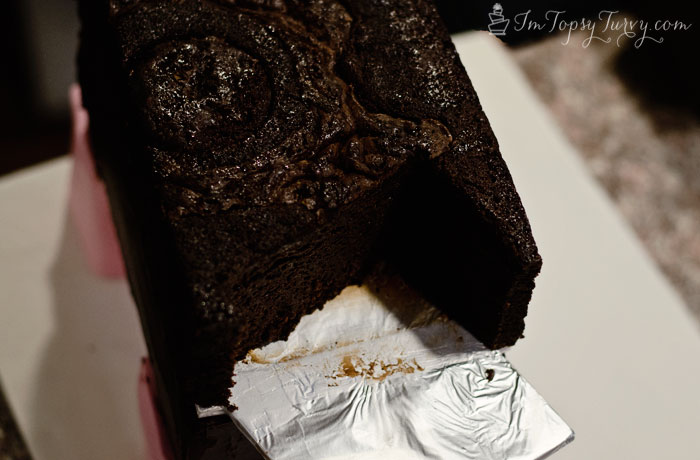
from this angle you can see the hold better, be careful of that left side, its just a BIT of a corner left and it’s easy to cut to far and cut it off (it can be glued back on with ganache, but it’s better not to cut it.)
Now add the head, making sure to frost inside that cut area to it helps hold the head in. Notice the head sticks out above the body, that’s why I cut the full square out, rather than just add the cake to the front of the body.
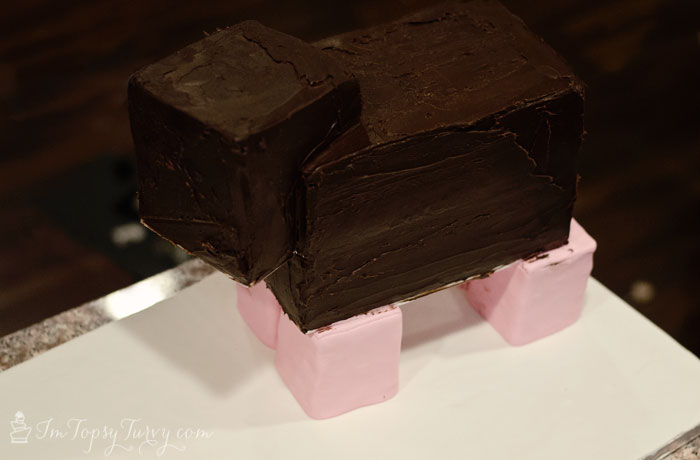
Next up? Fondant!!! Make sure to get it in to the creases and create sharp corners!!! This will help it look more realistic, since mincraft is all blockish with sharp corners! to rounded sides in minecraft!
The watermelon is a stacked round cake that I carved into a block based watermelon slice and then placed onto its side (and covered in ganache of course)
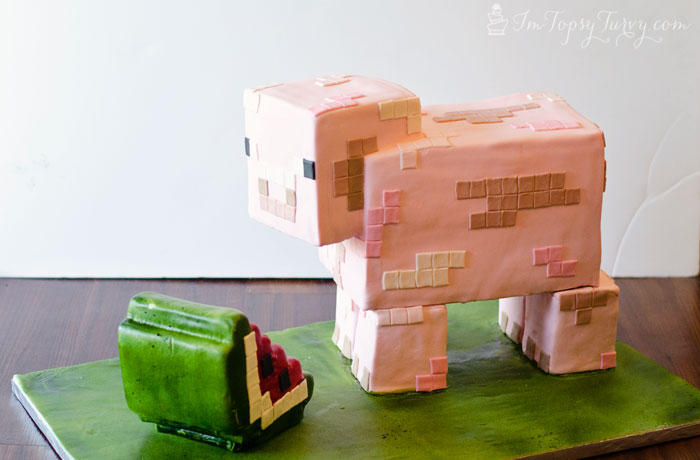
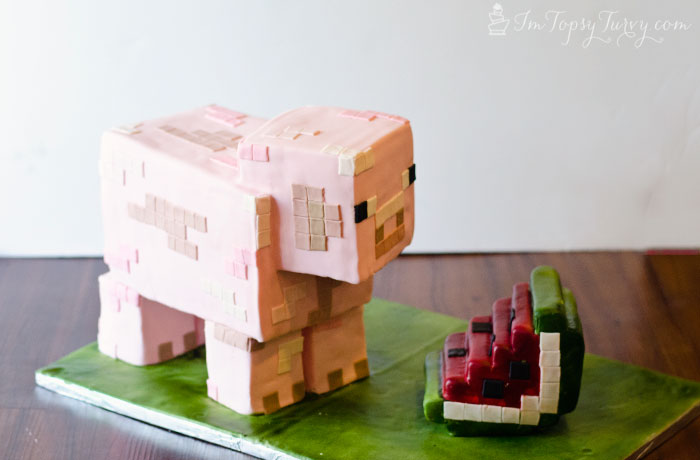
To finish up the watermelon I covered it with white fondant, then spray painted the outside green and the inside bright red. then added white fondant squares for the rind and the black squares for seeds. I don’t use the spray paint a lot, but I love the look for certain effects and I thought it was perfect for the grass and watermelon!
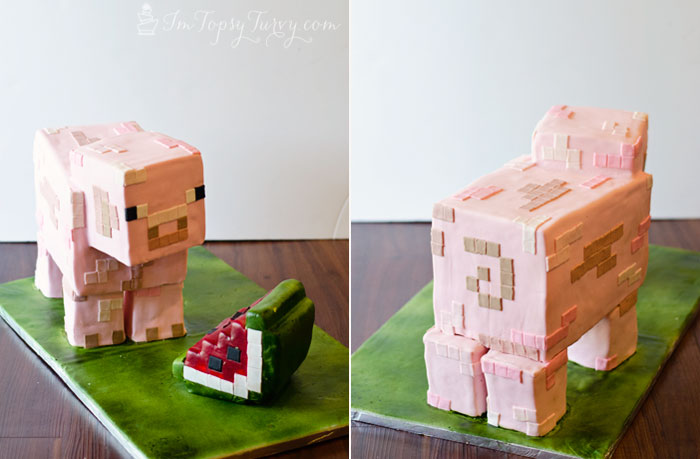
to finish off the pig I dyed white fondant in a few different shades of pinks, tan, black and of course some white. I cute out tons of squares of each color and added it to the cake. The face, “toes” and tail were very specific colors the rest was unique on each pig image I found so I just had some fun with placement.
Oh and the ears had specific colors. My middle boys are both HUGE minecraft fans, so when they came in to my office and saw all the pig and watermelon images pulled up they were SO excited. As the experts at home I asked them to “help” me. They gave me the a-okay when I finished, now they both want minecraft parties next year!
Don’t forget to check out all of the amazing party that Mom it forward Shares! She shared picking out the cake (yay!!!), the decorations (they were seriously AMAZING) and the favors!


jyl from @momitforward
Thanks so much for taking on this project. The kids LOVED the cake. You are so talented. I loved reading this tutorial. It’s amazing to see all that goes into cake decoration!
Thanks!
Ashlee
you are so welcome! It was my pleasure, and my boys had SO much fun watching me make it. They love love LOVE minecraft. Although they were pretty upset when I didn’t bring it back with me after delivery, ha. I’m so glad the kids loved it! AND i love the story about you cutting the butt first!
Denise
How did you spray paint the cake pieces? Maybe you could do a future post just on that.
Ashlee Prisbrey
I just use a cake air brush gun, with edible spray paint, and use it like any other paint sprayer, back and forth, even motions.
Yvonne
I don’t know anything about minecraft, but I think my husband does. I’ll have to show him this cake! It looks adorable – and like I always say, you are crazy talented!!
Ashlee
Thanks! It’s a very popular online game that’s especially popular between 8-12 year old boys. I wouldn’t know what it was if I didn’t have boys that age that are in love with it!
Jesseca
I have a hard time with cakes, but love the step by step tutorial you put together for this one! Even I might be able to make it!
Ashlee
you always have me 😉 and you KNOW you can come by any time for private lessons! I bet you’d catch up easier than you think.
Amber @ Dessert Now, Dinner Later!
I really enjoy your tutorials. I haven’t made cakes for several years & it’s fun to see how others put their cakes together. Looks great!
Ashlee
thanks! I love the planning of the cake as much as the building of the cake! There is something so fun about deciding how to create one of my carved cakes.
marissa | Rae Gun Ramblings
yup totally spoiled by your amazing and wonderfully geeky creations!
Ashlee
awwww you are so so SO sweet! thanks for the ego boost this weekend too, It’s always nice to hear!
Alli Miller @ Cupcake Diaries
Holy crazy cute!!! Kids everywhere would be dying for this cake. Fabulous job as always!!
Ashlee
Thank you, my own kids went a bit nuts over it so I figured I did something right! They are usually the best judges when it comes to these themed cakes.
Kaysi @ Keeping it Simple
This is amazing! My kids would LOVE this!! If only I could bake….
Ashlee
The baking part is the easy part, and I know you can use a hammer, nail and jig saw to build the platform… So you just need to figure out the fondant part! It’s really fun to play with.
Audra @ Painless Meals
I loved seeing the step-by-step process! I’ve always wondered how these amazing cakes are built!! So talented!
Ashlee
thanks! I really should share more, I always START taking pictures, then I get into the decorating and get on a roll and forget to take pictures of the rest!
Courtney
I’m so impressed! Dang girl, you so good! Thanks so much for giving us cake decorating wannabe’s the chance of trying to attempt something like this!
Ashlee
you are so welcome! You know I teach at Gygi’s ever month, it’s really fun if you ever want to come, fun GNO too!
Ali
My daughter is requesting I make this in 2 weeks for her birthday. I need to make hers quite big. Did you use any specific cake mix? I’ll be using a box mix and am concerned it won’t be sturdy enough with too much crumble. Any tips would be greatly appreciated:)
Ashlee
You should never carve a box cake mix, or even a sponge cake. Once you break that outer crust the integrity of the cake is a mess and it just collapse. I simply isn’t strong enough to handle it. I make all my cakes from scratch, of course, as it’s my business. I always suggest that people start carving with a pound cake, it’s nice and sturdy, moist and strong enough to handle the carving. hope that helps!!!
Daniel Costello
Awesome cake, nice job!
I’m hoping to make it for my 11 year olds birthday party in the next week. Do you have the dimensions of the legs and body of stuff handy that you are willing to share? I would love to make it to scale with yours! Thanks so much for thinking this up!
Ashlee
um, the legs were 2x2x2 inches if I remember correctly, the body was 8x5x5, and the head was 4x4x4
Christy
That chocolate cake looks.so delicious! I make my cakes from scratch and have tried so many recipies. I still am not pleased with my chocolate. Would you be willing to share yours? Btw, the cake is awesome!
Ashlee
I am so sorry, Since cakes and frostings are a part of my business i don’t share those recipes, I’m saving them for a cookbook someday! For beginner carvers I suggest trying pound cakes, they are nice and dense and work well.